Qt Sample Application [Beta]
Introduction

The new Qt sample app provides a cross-platform GUI to try out DJI OSDK functionality. The application supports Ubuntu Linux, MacOS and Windows platforms.
The application implements most functions from the following parts of the OSDK:
- Activation/Control Authority
- Flight Control
- Camera/Gimbal Control
- Waypoint Missions
- Hotpoint Missions
- MFIO Control
- Broadcast Telemetry
- Subscribe Telemetry
The application does not currently implement Mobile SDK communication and hardware sync functionality.
Software Setup
Required Tools
- Qt 5.9 or newer (You may choose the Open-Source option)
- Qt Creator 4.3 (Part of the download package above)
- MSVC2015/ MSVC2013/ MinGW 5.3 (Windows 10) OR
- Gcc 5.3.1 (Ubuntu Linux) OR
- Apple LLVM 7.0 or newer (MacOS)
The application may also work on other platforms/compilers but has not been tested with any combinations other than these.
DJI Hardware Compatibility
The Qt sample is compatible with all the platform/firmware combinations OSDK 3.3.1 supports, except for M100.
Project Setup
- In Qt Creator, click on the
Open Projectbutton, and navigate to thesample/Qt/djiosdk-qt-sample/directory. Select thedjiosdk-qt-sample.profile. - In the Configure Project dialog box, select the appropriate compiler and Qt version and click
Configure Project. - Next, click on the
Projectstab in the left-hand panel and select theRunsettings under theBuild and Runheading on the left. - Check the
Run in Terminalcheckbox. On Linux, you might need to direct Qt Creator to the pre-installedXTermterminal rather than gnome-terminal; go toTools->Options->Systemand change the path in theTerminalbox to/usr/bin/xterm -e. Following these steps, your project should be set up correctly. You can choose to enter your App ID and Key in the
 UserConfig.txtfile in the root of the folder to avoid entering it each time inside the application.
 Following these steps, your project should be set up correctly. You can choose to enter your App ID and Key in the
 Running the Application
Click the Run or Debug button in the bottom left corner to start up the application.
The startup screen should look like this:

-
First, select the serial port and hit the
Initialize Vehiclebutton. This sets up theVehicleobject, initializes all components and reads App ID and Key from the UserConfig.txt file. -
Next, you must activate the drone and optionally obtain control.
-
From here on, explore the various components by clikcing on the tabs at the top. For example, here is a screenshot of the Flight Control page:
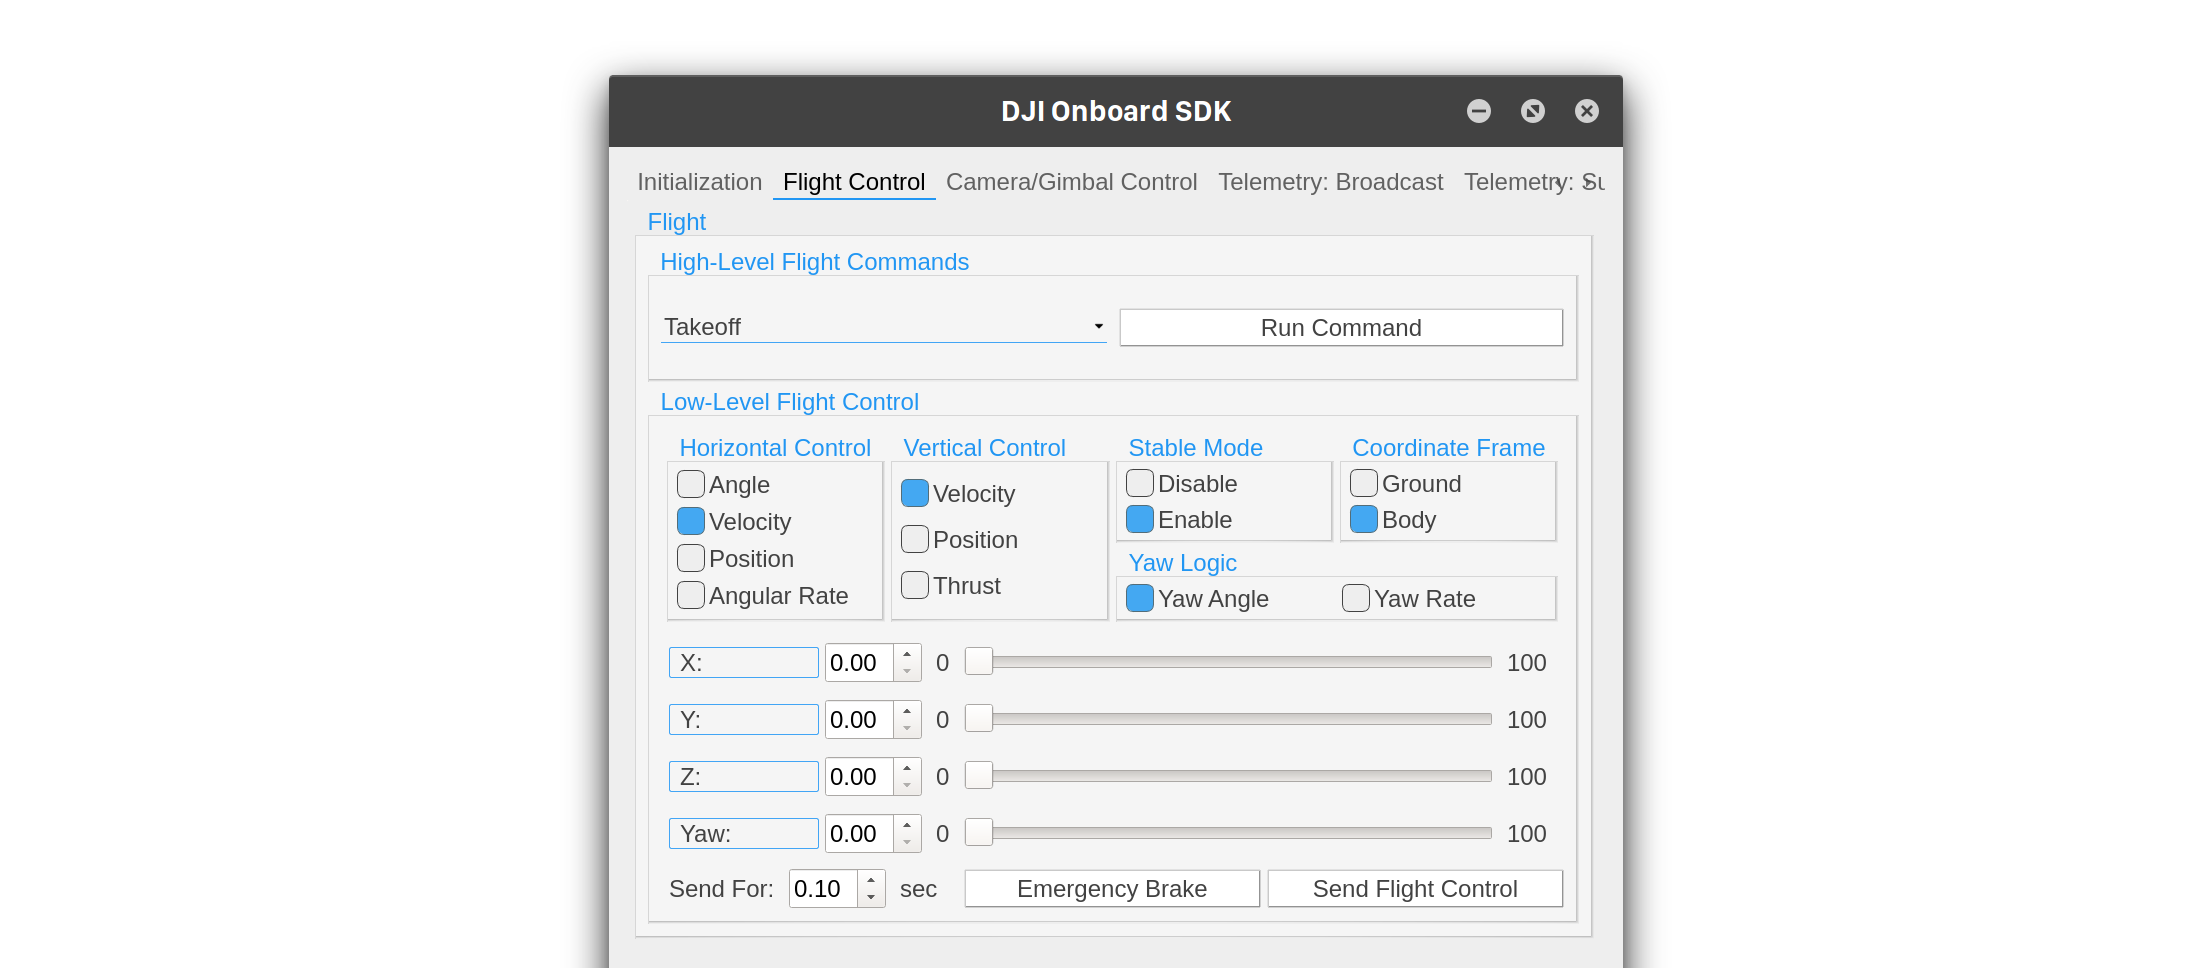
-
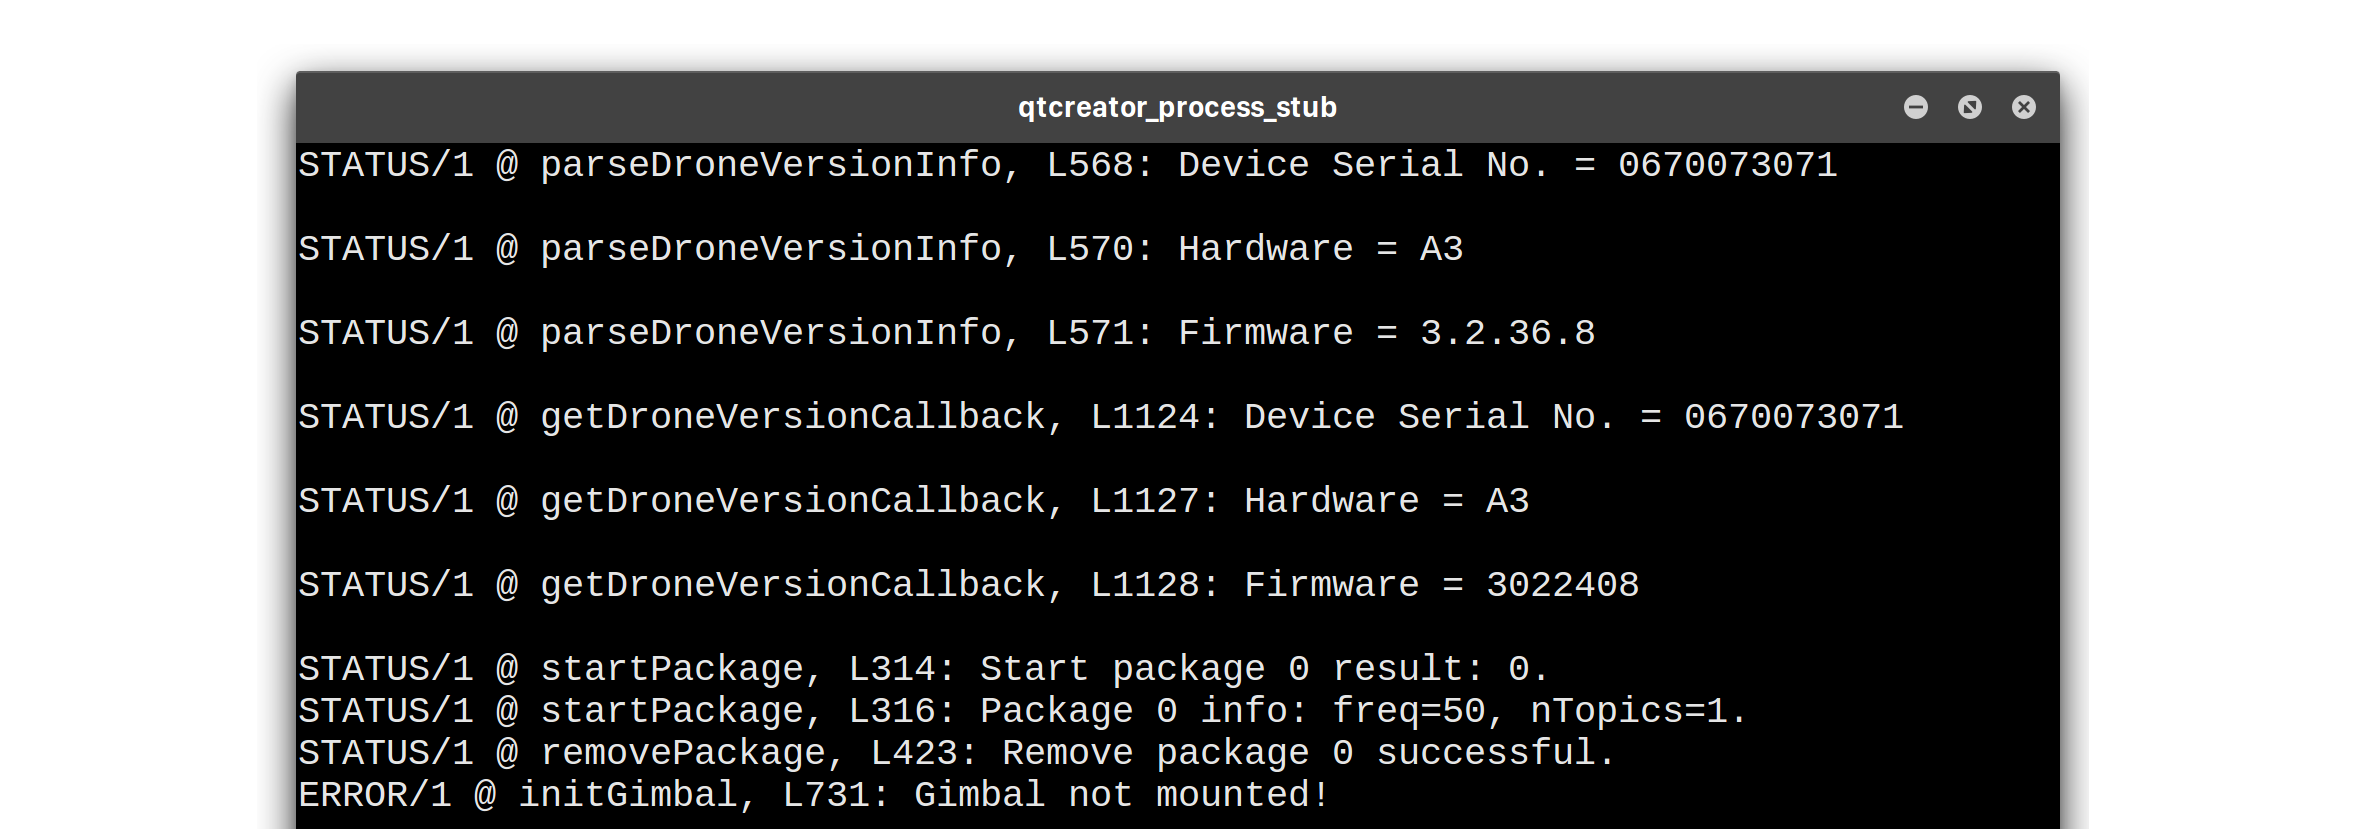
The terminal is your source of debug and status information; here is a screenshot of what that looks like.


If you are using XTerm on a HiDPI display, the fonts might be too small to read. In that case, hold down the Ctrl key and Right-click with a mouse on the XTerm window, and select TrueType Fonts.