Get Started
This document takes you through a quick set of steps to see the DJI Onboard SDK in action.
Register as a DJI Developer
Follow the steps here to register as a DJI Onboard SDK developer, and generate an app ID and key.
Setup
For this tutorial, you will need :
- A compatible DJI vehicle/flight controller
- An Ubuntu 16.04 PC (virtual machine works as well) to act as your onboard computer
- A Windows/Mac machine to run DJI Assistant 2, required for simulation.
1. Hardware Setup
Follow the steps in the Hardware Setup Guide to connect your DJI device to your Ubuntu PC.
2. Software Setup
Navigate to the Linux software setup page to get your software environment ready.
Build the Flight Control Linux Sample
For this tutorial, we will be running the position control linux sample app with the vehicle/flight controller in simulation mode.
- As per the linux software setup guide, make sure you have the cmake build system installed on your machine.
- In the
onboardsdkroot directory, run the following commands to build the sample app:mkdir build && cd build
cmake ..
make djiosdk-linux-samples
cd bin
Run the sample app
You are now ready to run the sample app! Here's a checklist before you run the app:
- You have entered the
sudo usermod -a -G dialout $USERcommand, then logged out and logged back in to your account - Vehicle/Flight controller is in simulation mode, connected via USB cable to a computer running DJI Assistant 2
Enable API Controlis checked on DJI Assistant 2's SDK page- The frequencies at which data is broadcasting on the SDK page are not all zero
- The baudrate on DJI Assistant 2 matches that in your
UserConfig.txtfile - App ID and Key have been entered in your
UserConfig.txtfile - Your hardware setup matches that in the Hardware Setup guide
If all of these are done, proceed to enter the next set of commands inside the build/bin directory:
./djiosdk-flightcontrol-sample ../../sample/linux/common/UserConfig.txt
You should now see your terminal showing something like this:

Press the b key to run a Takeoff + Position Control Sample + Landing cycle. You should see the drone doing these in simulation. You are done!
To learn how to write applications like these, go ahead and check out the reference section.
Troubleshooting
Q. The sample app doesn't show the interactive prompt, instead:
- It shows a number of errors
- It hangs
- It says
Drone version not obtained! - It looks something like this:
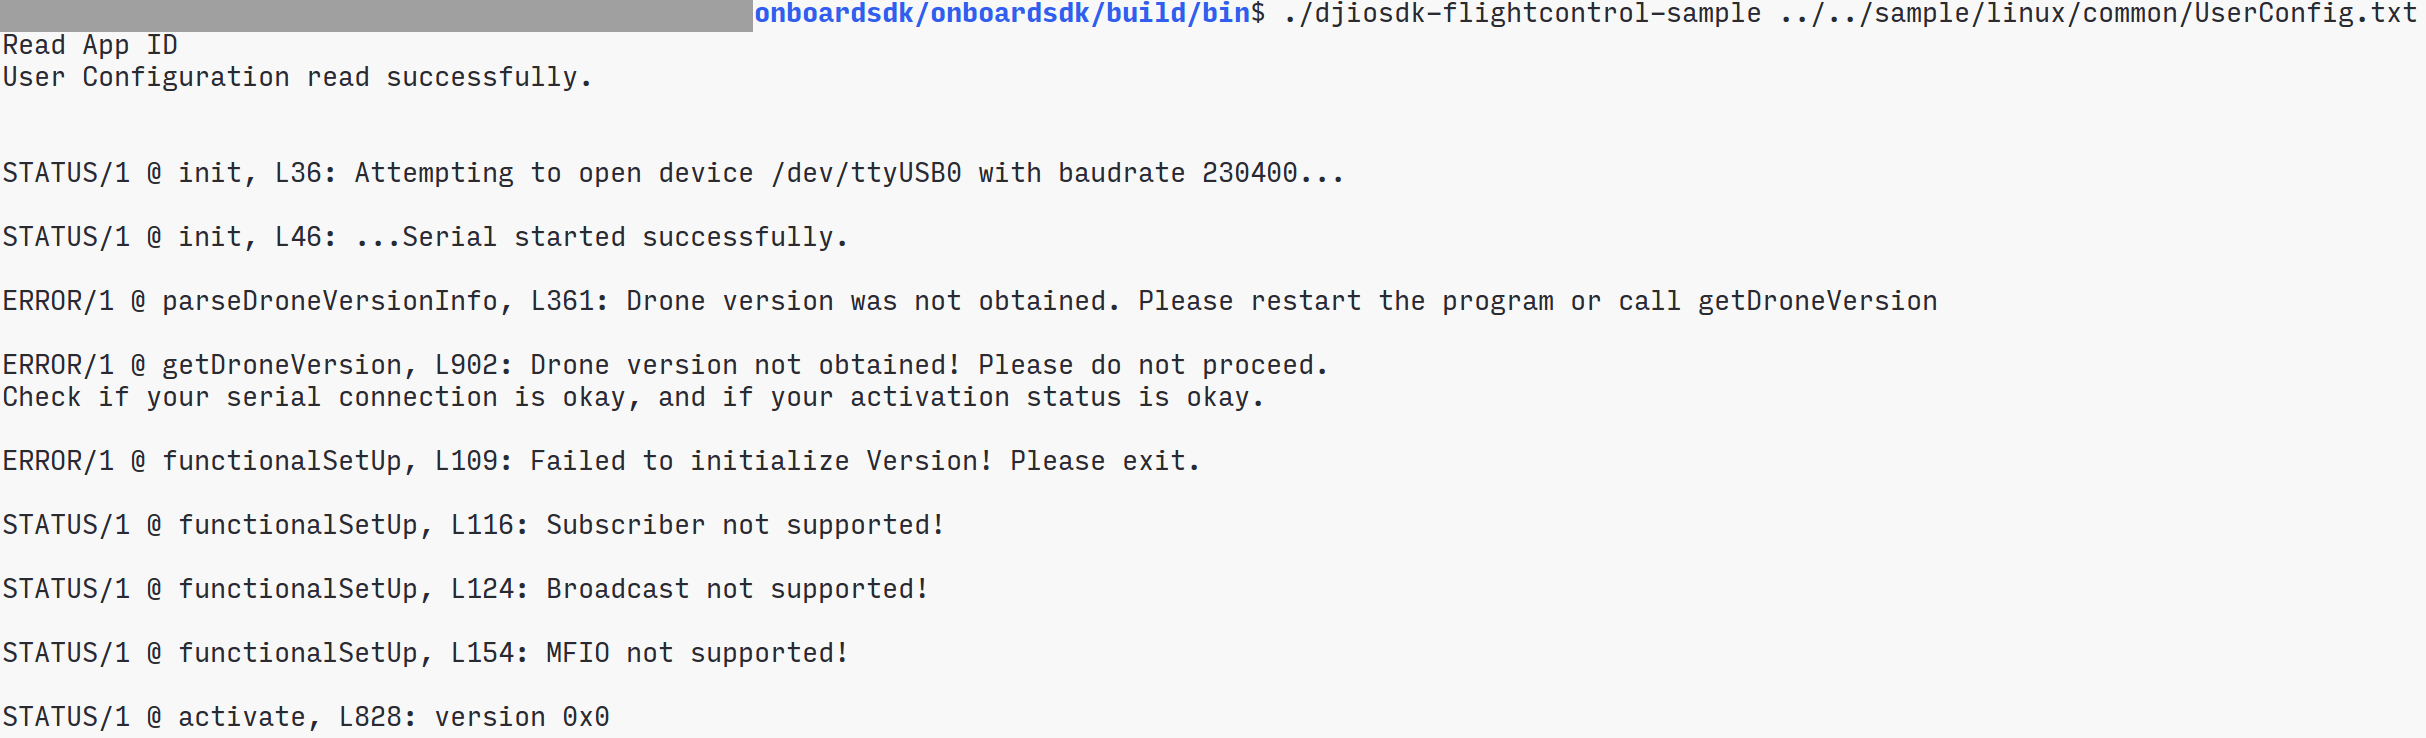

A. This is usually caused by a connection issue, or a baudrate issue. Please investigate your hardware connections, your baudrate and port name. If it still doesn't work, raise a Github issue.
Q. The sample says Activation failed! and does not proceed.
A. Please make sure you have DJI Go open and your mobile device connected to the internet, and the correct App ID and Key in your UserConfig.txt file. Try a couple of times, if it doesn't work, raise a Github issue.
Q. The drone doesn't actually move in simulation, even though the sample suggests it is working correctly.
A. Make sure your LightBridge 2 RC is powered on and your battery has enough power left in it. Close the simulation window and open it again (don't hit the Stop Simulation button) to eliminate the possiblity of a visualization issue. Raise a Github issue in case these steps don't work.